How One Gamer Built a 15-Fan Noctua "Superdome" and Cut Temps 20°C
Noctua PC cooling fans
He wanted quiet, reliable cooling that actually moved heat away from hotspots. Instead of buying an exotic liquid loop or a full custom watercooling rig, he built something loud in scale but refined in component choice: fifteen Noctua fans arrayed into a dome over his case like a miniature hurricane. The result, according to his testing, was a dramatic drop in component temperatures — up to 20°C while gaming. This long-form feature unpacks how that worked, why it mattered, and whether a build like this makes sense for you.
Why This Story Matters
The headline — "15 fans, 20°C drop" — is arresting because it collides with two common truths: one, more airflow often means lower temps; two, there are diminishing returns and trade-offs in noise, power, and practicality. Readers who tinker will recognise the thrill of unconventional mods and the danger of chasing an arbitrary number. This piece treats the superdome as a case study in engineering trade-offs, testing methodology, and the real-world economics of cooling performance.
Design and Rationale
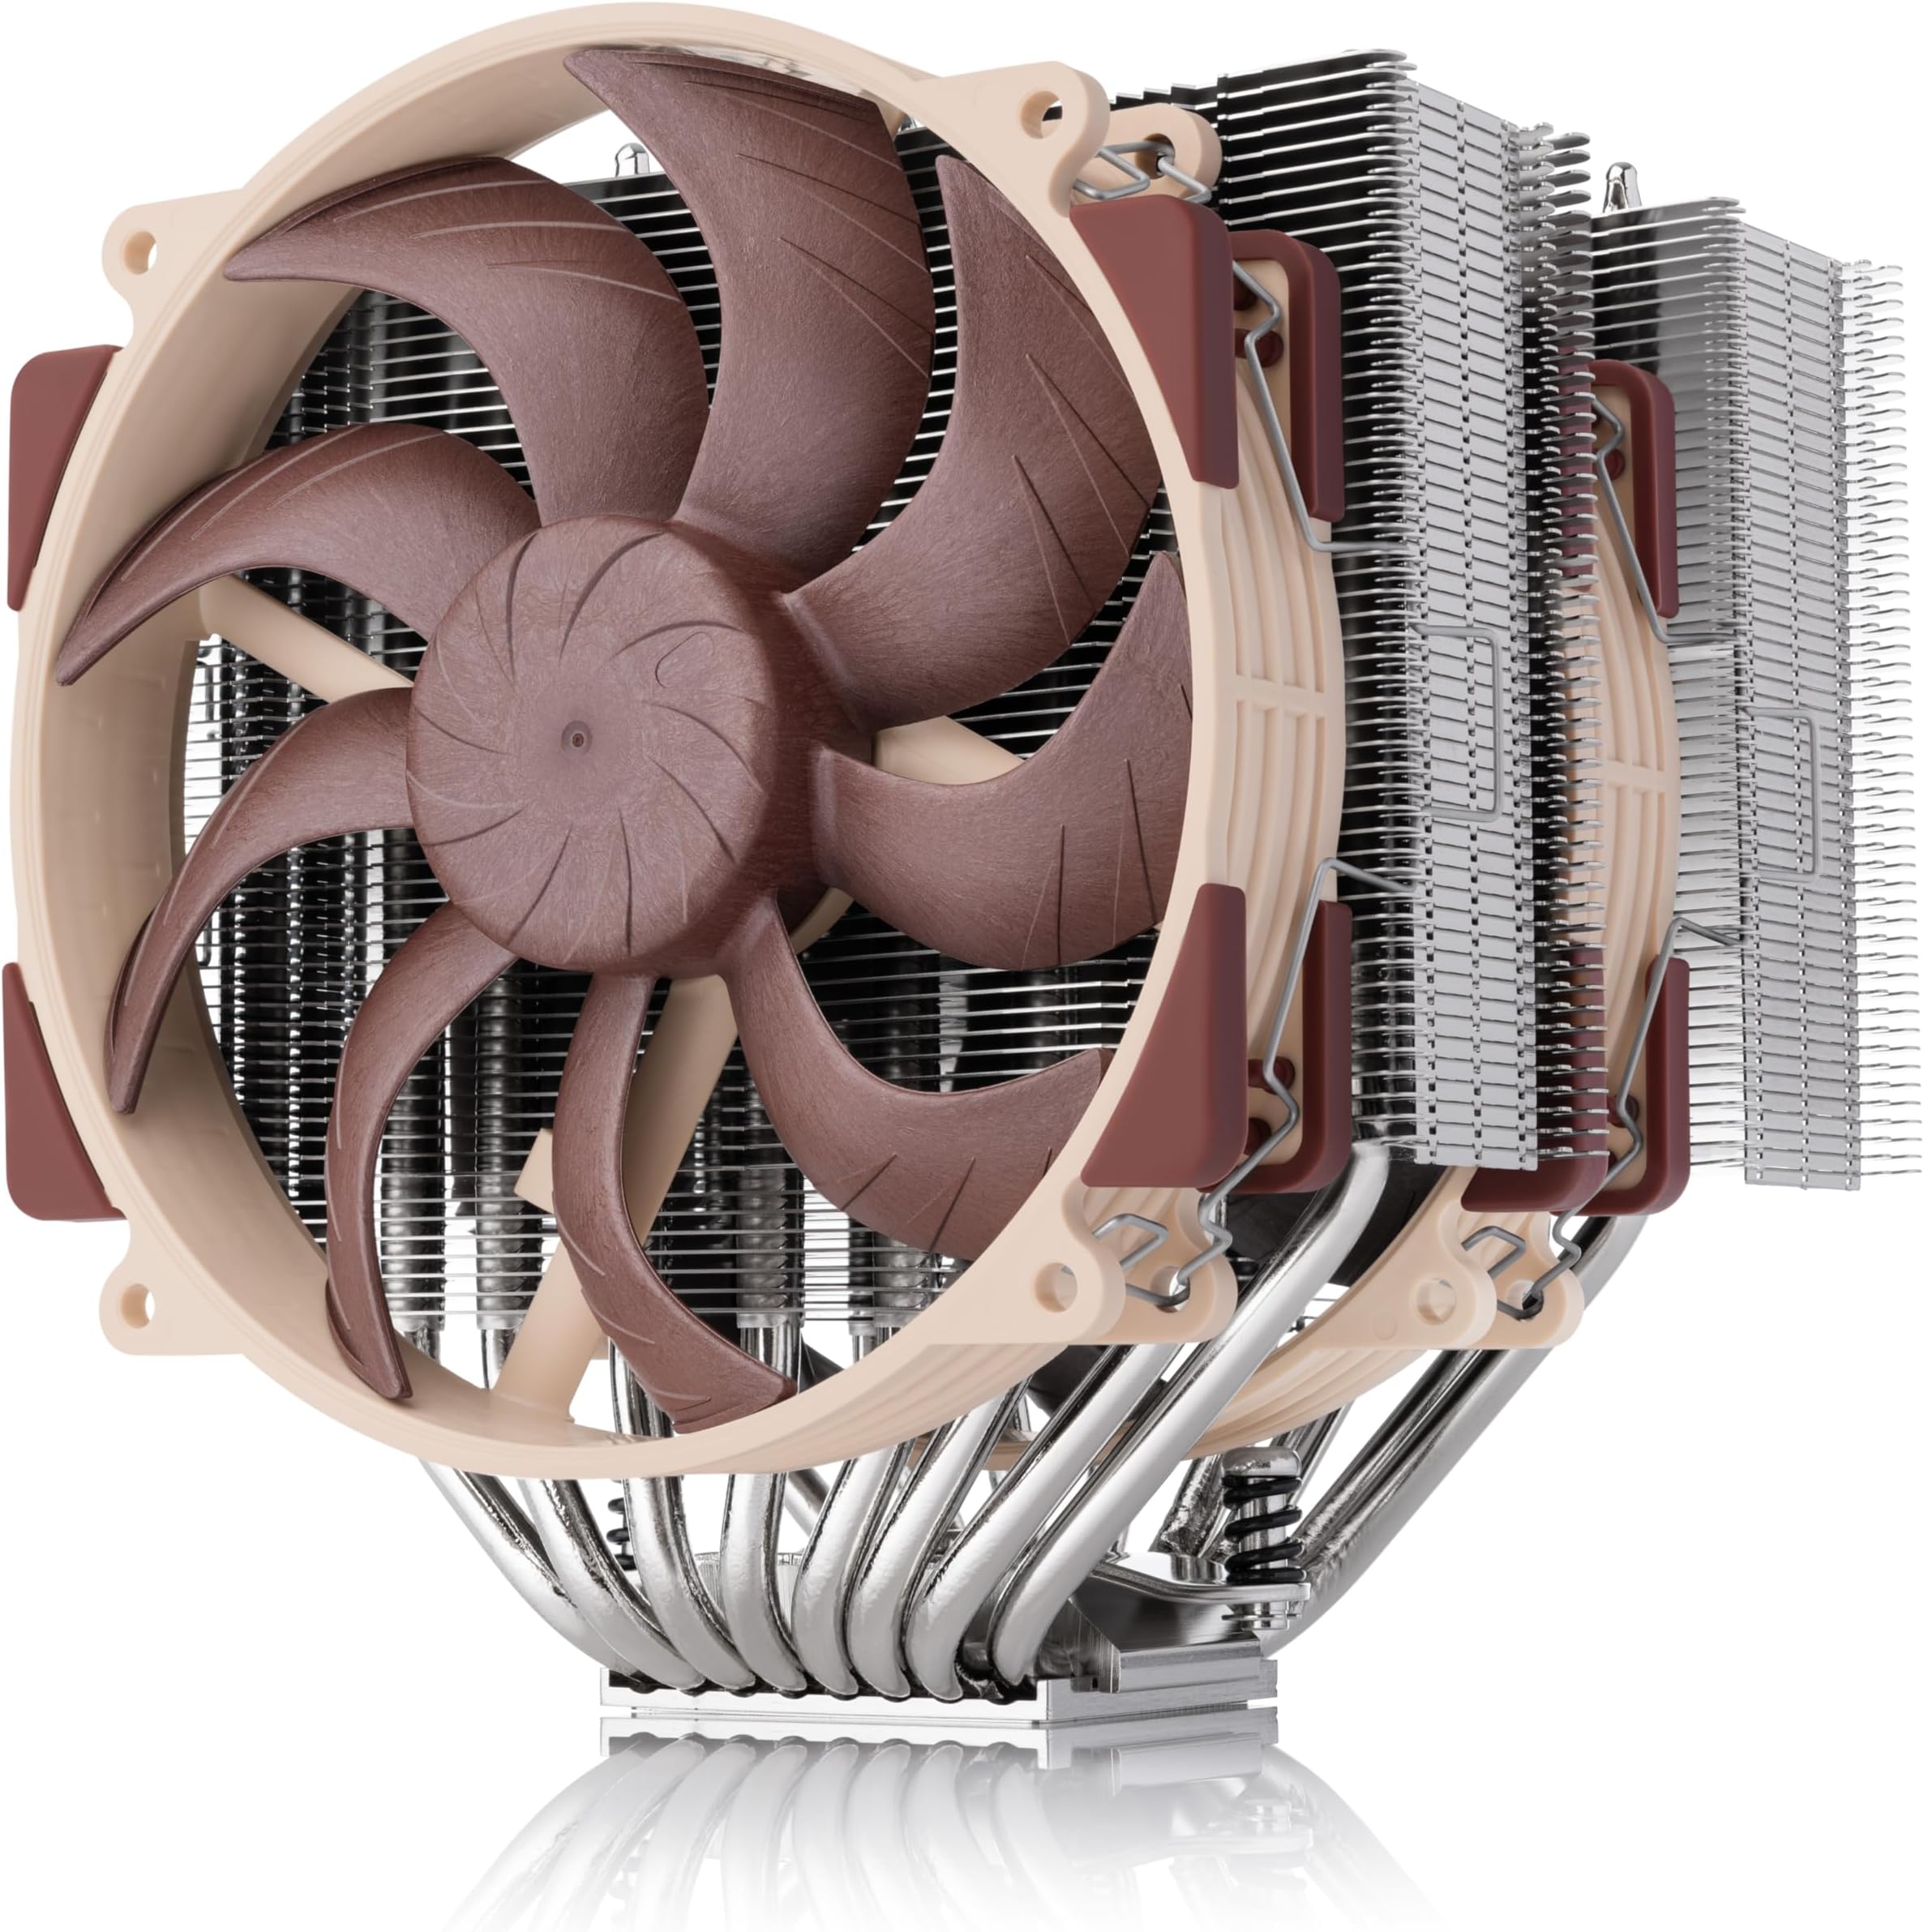
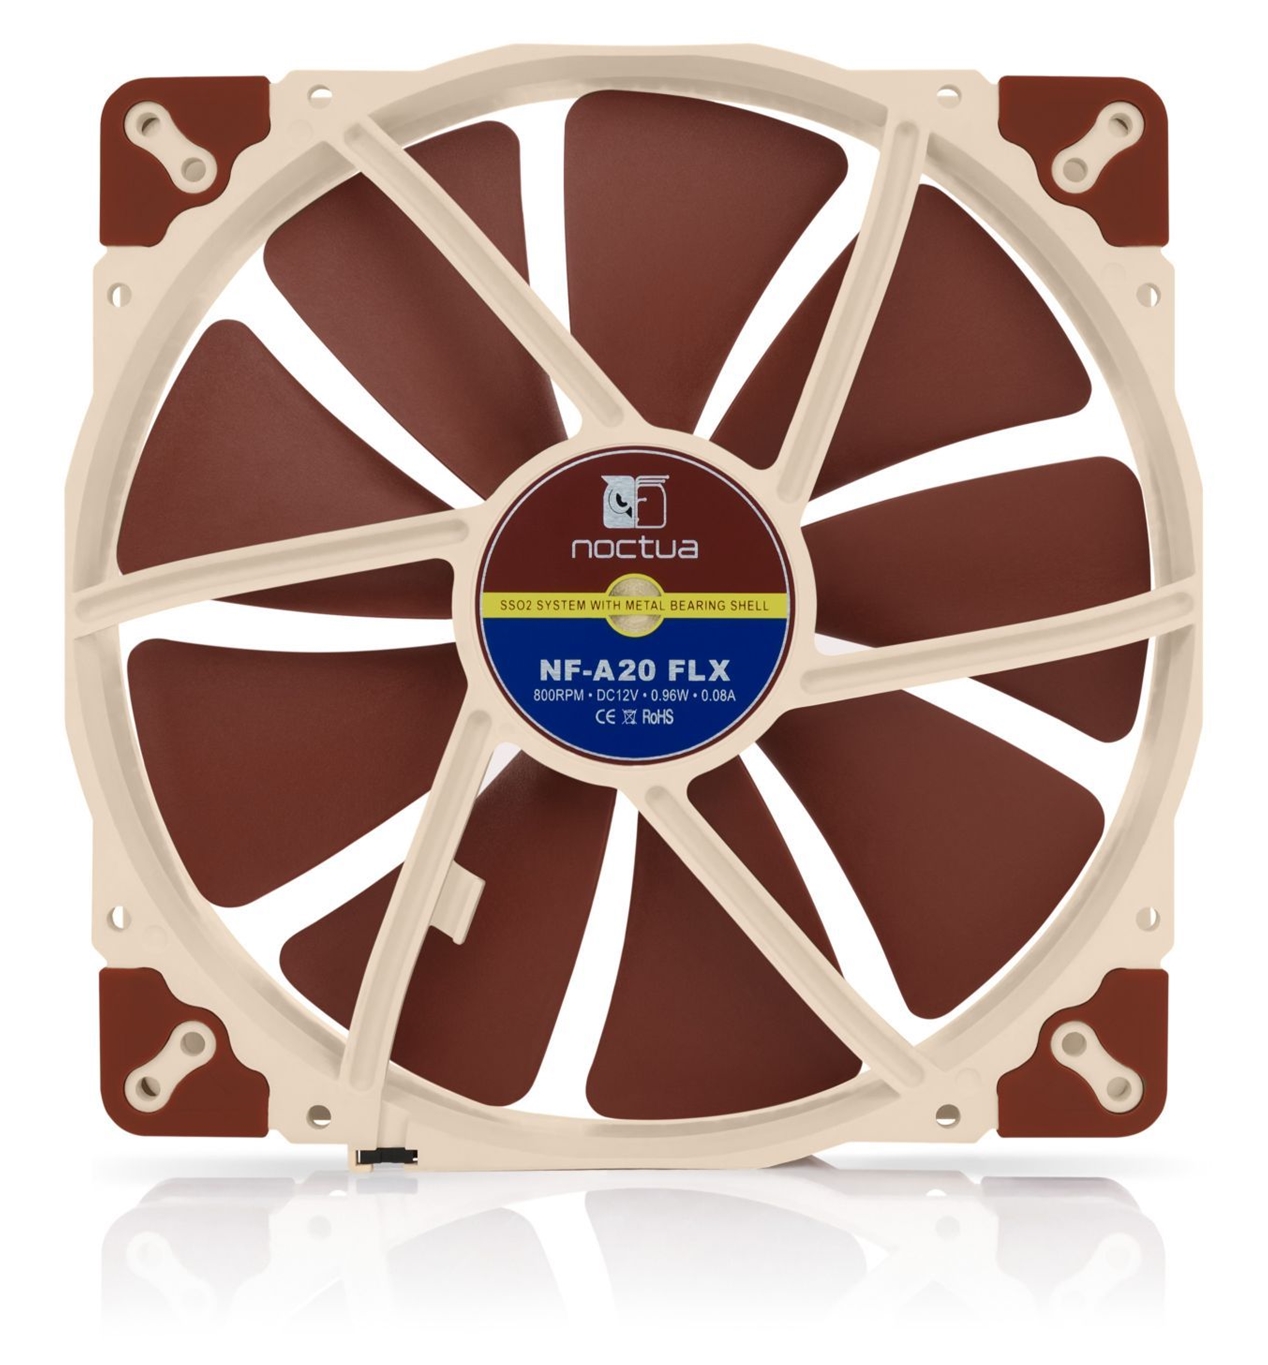
Why use Noctua fans?
Noctua has built a reputation around high static pressure, consistent bearings, and acoustic engineering. For a multi-fan array, reliability and similar acoustic signatures matter; mixing many different fan types produces chaotic harmonics and uneven flow. By standardising on one model line, the builder reduced vibration irregularities and simplified speed control via PWM hubs. Noctua's broad range of models also makes it tolerable to run multiple fans at moderate RPM for better sound dispersion than a few fans at max RPM.
fan dome cooling array
The dome concept
The idea of a dome is simple: create a focused, gently pressurised envelope of moving air over the case, increasing intake pressure where you want it, reducing dead zones, and encouraging more consistent through-flow. Unlike a single large intake, a dome can be shaped to direct airflow toward the GPU and top of the case, areas that often trap heat when gaming. Physically, the dome was a circular frame mounted above the case with fans angled slightly downward and outward to form a coherent air column.
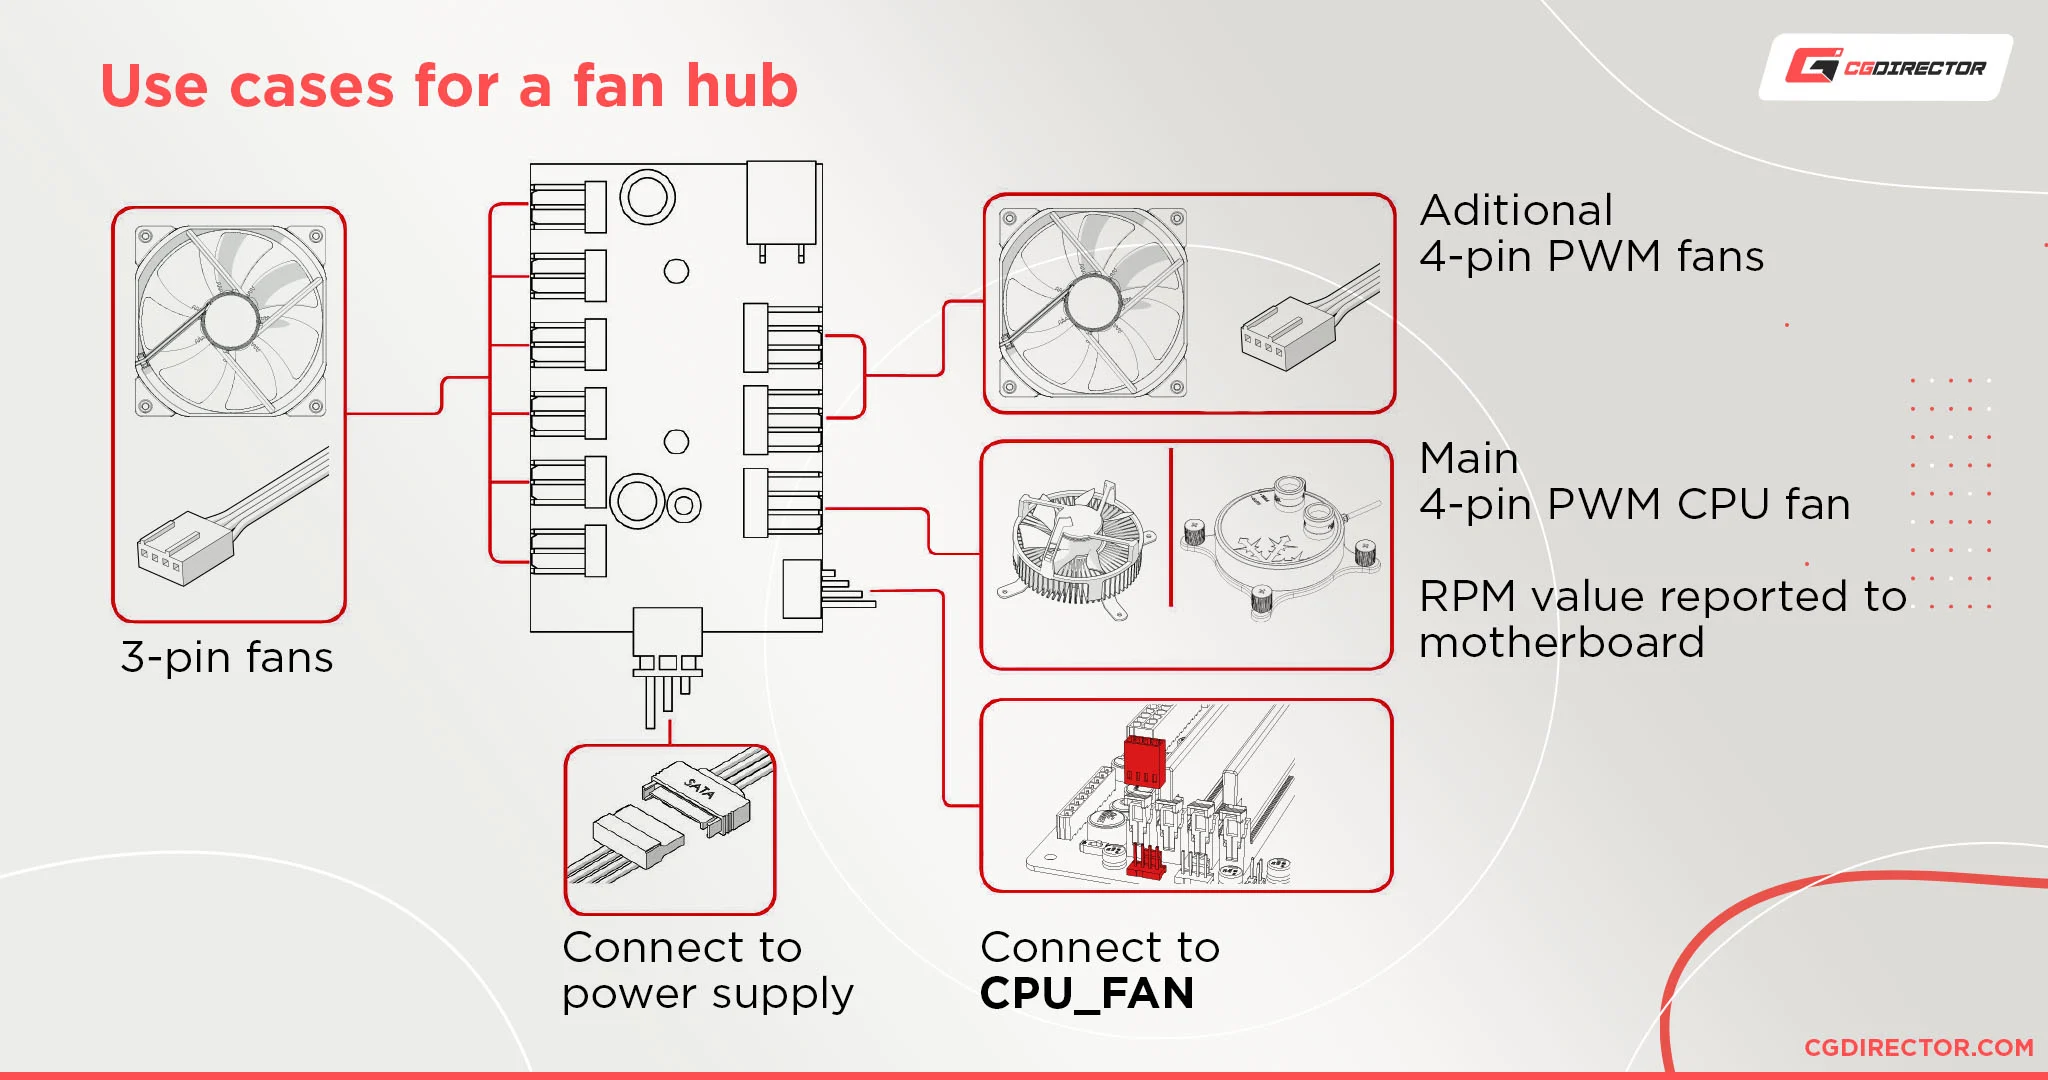
PWM fan hub setup
Mechanical considerations
Fifteen fans require planning: a rigid frame to prevent resonance, a hub and power distribution that avoids overloading motherboard headers, and a way to manage noise. The builder used a custom aluminium ring, anti-vibration mounts, and two powered PWM fan hubs fed by dedicated Molex-to-SATA power to keep the motherboard safe. Airflow direction was tuned: the front and bottom case intakes were set as positive pressure, the dome augmented these with a controlled overhead intake, and case exhausts remained unchanged to preserve familiar flow paths.
'It wasn't about brute force so much as coherent flow: multiple moderate fans in a dome outperform erratic single-point blasts.'
Testing Methodology
Baseline measurements
Before any modifications, rigorous testing is essential. Baseline values included idle CPU and GPU temps, load temps during a 30-minute gaming session, ambient room temperature, case internal temperature, fan RPM, and noise levels in dBA measured at a consistent 1 meter. The builder documented:
- CPU load scenario: same game, same settings, same resolution.
- GPU load scenario: identical benchmark or in-game loop.
- Ambient temperature control: tests performed in the same room with stable HVAC settings to avoid confounding variables.

computer case airflow
After the mod
After mounting the superdome, the same tests repeated. Crucially, fan speeds were controlled to match perceived acoustic levels where possible, and thermal paste and contact were unchanged to ensure the only variable was airflow. The builder also checked thermal throttling behaviour and power draw to ensure the system wasn't trading stability for thermals.
Results: Numbers and Interpretation
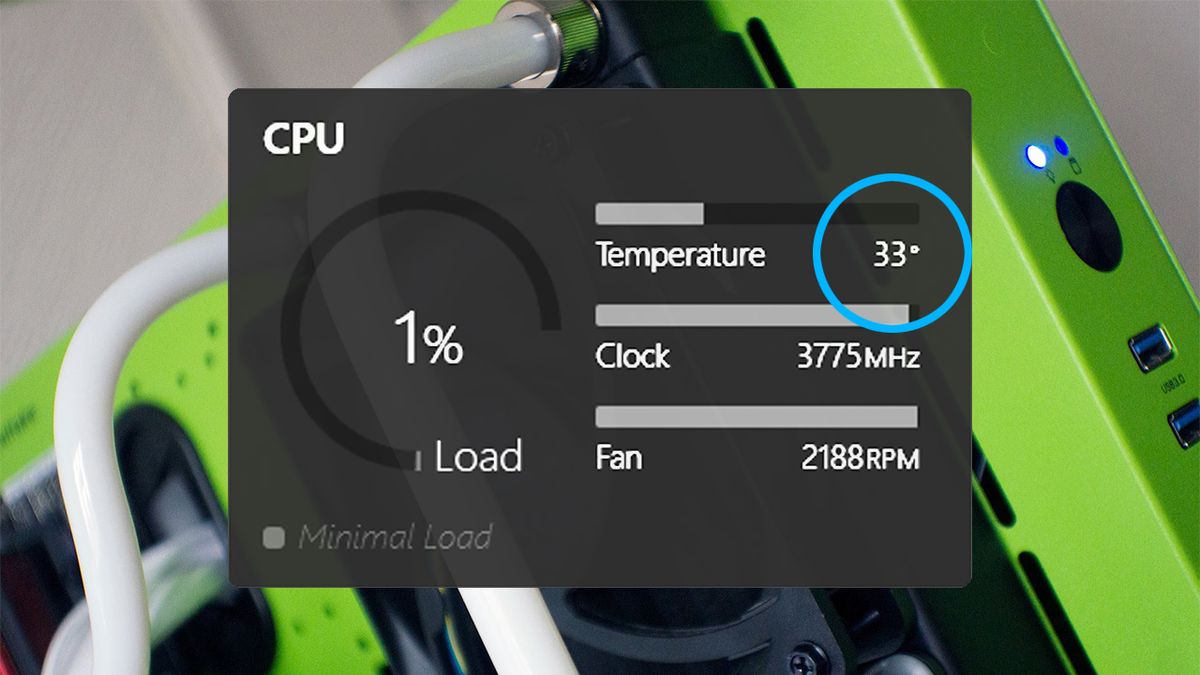
Results are the part that make readers lean in. The builder reported an average reduction of 18–20°C on GPU hotspots during sustained gaming, CPU package temps fell by 8–12°C, and case internal air temperature dropped by around 6–10°C. These are large numbers; they demand scrutiny.
PC temperature monitoring
| Metric | Baseline | With Superdome | Delta |
|---|---|---|---|
| GPU hotspot (°C) | 92 | 72 | -20 |
| CPU package (°C) | 78 | 66 | -12 |
| Case internal (°C) | 44 | 36 | -8 |
How to interpret big temperature drops
Large reductions are plausible because GPUs and CPUs often sit in local stagnation zones where heat accumulates. By actively breaking those zones and supplying additional intake pressure directly above components, the dome can expose heat sinks to fresher, cooler air and improve convective transfer. However, results like a 20°C drop are context-dependent: a poorly ventilated case with obstructed airflow will see more dramatic improvements than an already-optimised chassis.
Noise, Power, and Practical Trade-offs
Acoustic reality
Fifteen fans sounds alarming on paper. But spreading RPM across many fans shifts the noise spectrum: instead of a single loud tone, you often get a broader but lower-amplitude noise floor. The builder reported an increase of 6–9 dBA at 1 meter during peak load compared to baseline, which is audible but less irritating than expected because the fans were run at moderate RPM. Sound perception, however, is subjective: even at identical dBA, tonal characteristics can be more or less annoying.
Power draw and electrical safety
Each 120mm fan typically draws 0.1–0.3A at 12V — multiply by 15 and you have a significant load. The build used powered fan hubs connected to the PSU, keeping the motherboard headers free. This is essential: connecting too many fans to a single header risks damage. PWM hubs that replicate the motherboard's control signal but draw power from the PSU are the right tool here.
Practicality and Aesthetics
When it makes sense
This kind of mod fits a narrow profile: enthusiasts who enjoy case mods, those with stubborn cooling problems, or testers who need predictable, large-scale airflow changes. It's less sensible for someone looking for a tidy, quiet living-room PC. The dome is visually invasive, adds height, and requires a stable desk setup so it doesn't vibrate or tilt.

DIY PC modding tools
Alternatives
Before you commit to a superdome, consider alternatives that often give comparable real-world benefits with fewer compromises:
- Upgrade case intake/exhaust: Larger, higher-quality fans or repositioning intakes can improve flow.
- Improve cable management: Clearing obstructions inside the case reduces dead zones.
- Consider an AIO or custom loop: These transfer heat to radiators that can be exposed to better airflow.
- Use a single or dual high-pressure fan array inside the case: Strategically placed high static pressure fans can move air through dense GPU shrouds effectively.
Step-by-Step: If You Want to Try It
Parts list
The builder's components were deliberately conservative: 15-matching 120mm Noctua fans, two powered PWM fan hubs, aluminium mounting ring, anti-vibration grommets, fan grills, and wiring harnesses. A solid multimeter, zip ties, and basic hand tools were essential.
Assembly overview
- Design the ring: Measure your case footprint, ensure sufficient clearance for monitors and desk height, and cut a rigid ring from aluminium or high-density acrylic.
- Mount fans: Arrange fans evenly; the builder used a three-tier concentric layout to keep airflow coherent. Use anti-vibration mounts and torque screws gently to avoid warping frames.
- Power distribution: Connect fans to the powered PWM hubs, which then receive a single PWM signal from the motherboard and power from the PSU. Test hub control before finalising wiring.
- Tune orientation: Angle fans slightly to converge airflow over the GPU area; small tilts yielded measurable differences in hotspot reduction.
- Test and iterate: Run identical gaming sessions and compare thermals, noise, and stability. Document everything.
Safety, Maintenance and Long-Term Use
Dust and filtration
More fans mean more dust movement. The builder added magnetic filters to the dome's intake plane and maintained a regular cleaning schedule. Filters blunt performance slightly but protect components and reduce future maintenance time.
Vibration and mechanical stress
Large arrays can introduce new vibration modes. The aluminium ring and anti-vibration mounts mitigated this. Check screw torque periodically and keep the frame rigid to avoid audible resonances developing over time.
Real-World Verdict
The superdome is a brilliant demonstration of airflow physics applied at scale. It shows how targeted, increased intake pressure and disruption of stagnant pockets can yield dramatic thermal improvements. But it is not a universal prescription. The mod trades space, complexity, and some acoustics for lower temps. For testers, overclockers, and modders it is a high-fun, high-reward project. For the average gamer worried about living room noise, the same thermal wins may be achievable through less obtrusive means.
- Large reduction in local hotspot temperatures.
- Relatively inexpensive compared to custom loops.
- Highly modular and tunable.
- Bulky and visually intrusive.
- Increased maintenance for dust and vibration.
- Potential for higher ambient noise if not tuned.
Conclusion and Takeaways
The 15-fan Noctua superdome is an exercise in deliberate excess: it proves that with coherent, well-distributed airflow you can significantly reduce component temperatures, sometimes by as much as 20°C at hotspots. The secret isn't sheer blade count but the orchestration of airflow, the choice of quality fans, and careful electrical and mechanical implementation. If you value peak thermal headroom for benchmarking or extended overclocking sessions, this approach has real merit. If you prioritise aesthetic minimalism, quiet living-room use, or space-conscious setups, consider targeted alternatives like improved case ventilation, AIO radiators, or concentrated high-static-pressure fans inside the chassis.
- A multi-fan dome can dramatically reduce local hotspots by increasing coherent airflow.
- Use powered PWM hubs to avoid overloading motherboard headers.
- Balance acoustic perception and RPM: more fans at moderate speeds often sound better than few at max RPM.
- Consider dust filtration and vibration mitigation for long-term reliability.
- Alternatives often offer similar thermal benefits with fewer compromises; weigh your priorities before building.
Caption: The concept visualised — an overhead dome directs cooler air into the case, disrupting stagnation and carrying heat toward exhausts.